- Burn the .iso image to a CD, DVD or a USB stick. Make sure that you write it at a slow speed so that nothing gets broken in the process.
- 3Change the BIOS settings. If you are using a live USB, you might need to go into your BIOS and change the boot priority in order to boot from your USB. You can access your computer's BIOS by pressing ‘F2’ or ‘Delete’ on most computers when the computer is booting up. If you are using a CD or DVD, ignore this step as generally CDs are first in boot priority.
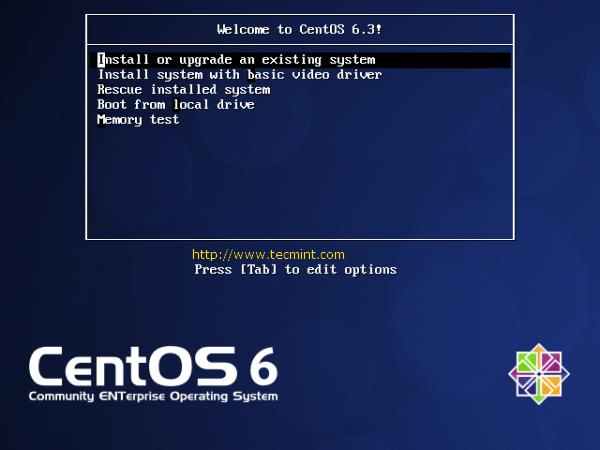
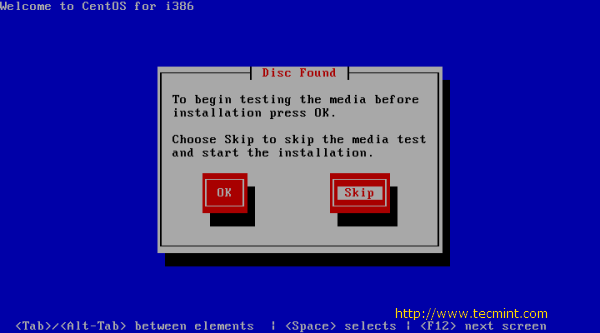
- 4Be sure to select "Live Drive" when the option screen first appears. If you select to install it, it can potentially delete everything from your system.
- 5Explore the system. The most notable thing about you should toy with is the window manager which allows you to see pretty cool effects. You should also explore around the applications already installed in the OS and see what else is available with their package manager.
- 6Install the live image to your hard drive .If you have made the decision to install Linux on your system, click on the "Install to Hard drive" icon on the workspace.
-
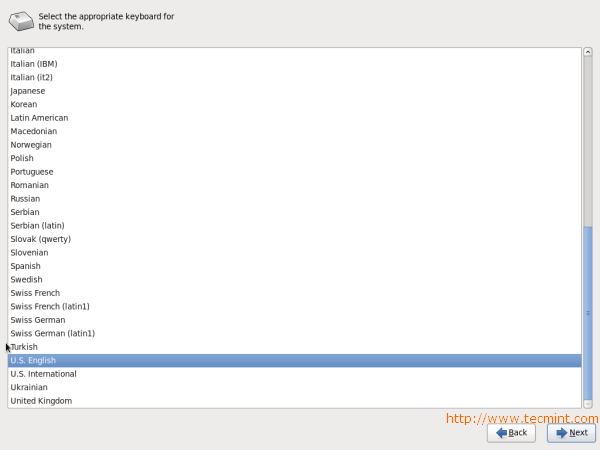
7Click on next when the installer starts and then select your keyboard layout.
-
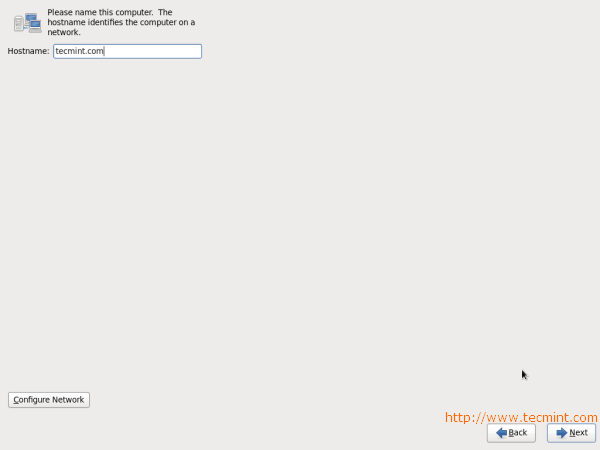
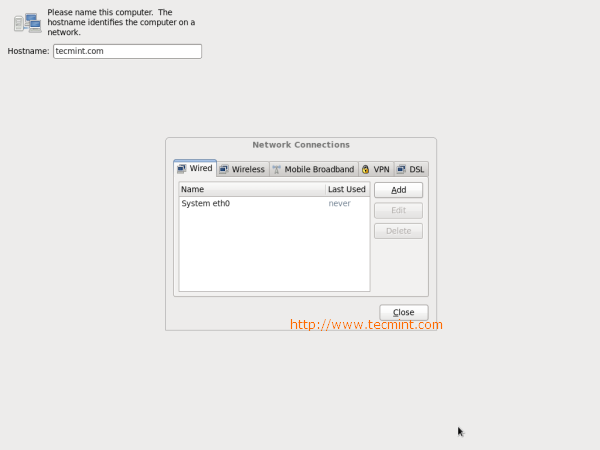
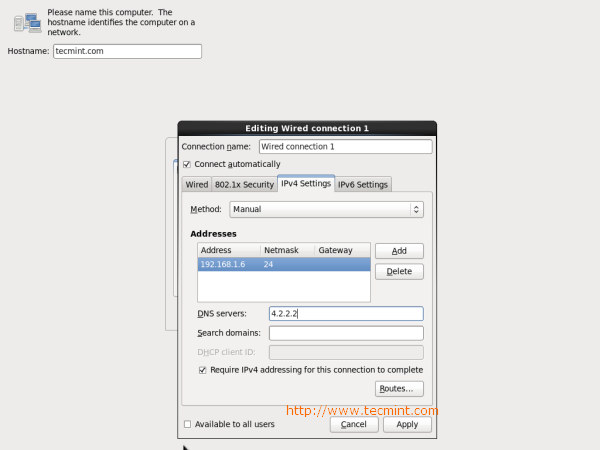
8Choose the host name. It can be left as is or you can enter in the name you desire. That is going to be the name for the computer. Then click on next.
-
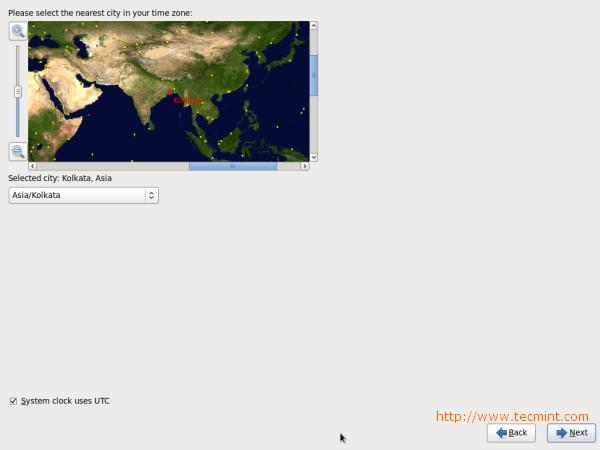
9Select your time zone and click next .
-
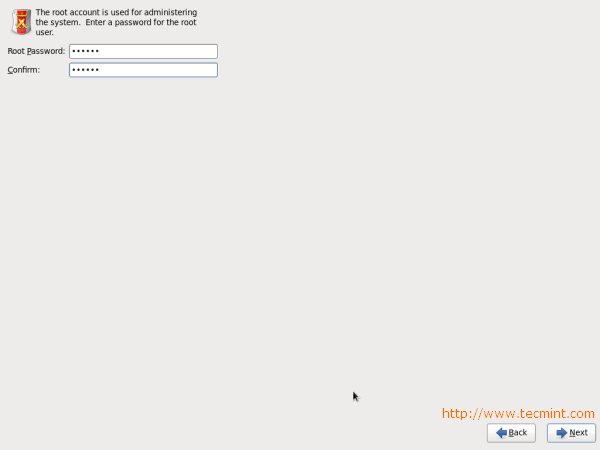
10Enter your root password for the system. Make sure that the password is something hard for others to guess; the security of your system depends on it.
-
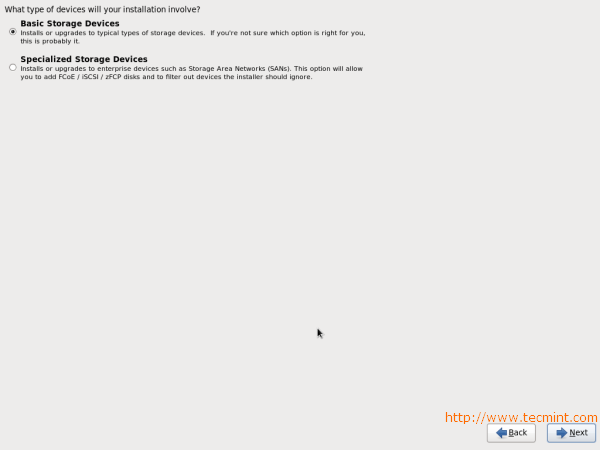
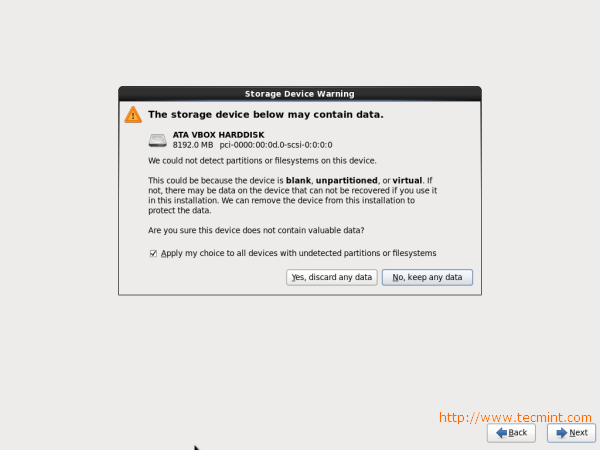
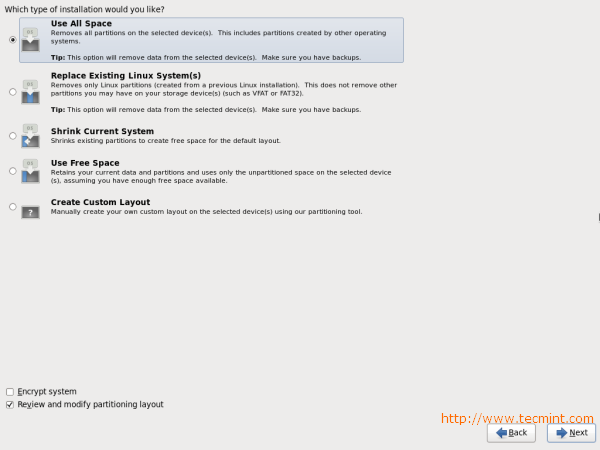
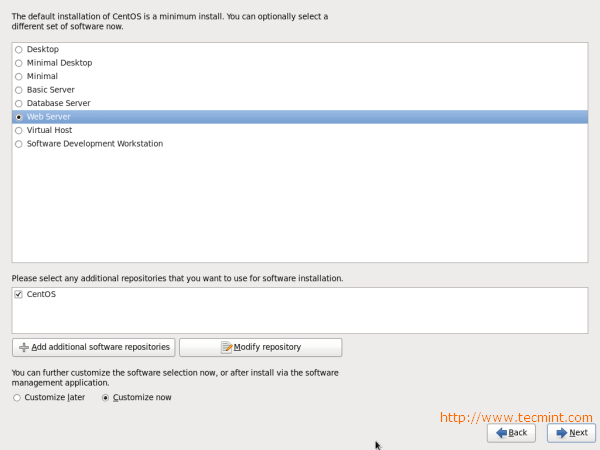
11Choose the mode of installation. You could:
- Use entire drive. As the title says, Fedora would clear off all the data on your hard drive and use the complete space for its installation. But beware that you could lose all data on your drive .
- Use free space. If you have unallotted space on your hard drive, all that space is used for Fedora installation .
- Replace existing Linux System. If you are sure that you are running another Linux distribution and are quite keen to remove it, use this option and click next.
- Shrink current system. This option allows you to shrink any of the partitions so as to install Fedora.
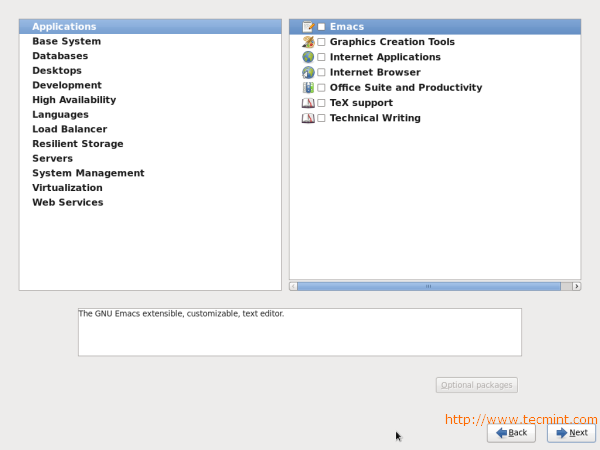
- Create Custom Layout. Allows you to create and delete partitions manually.(Experienced users only.)
-
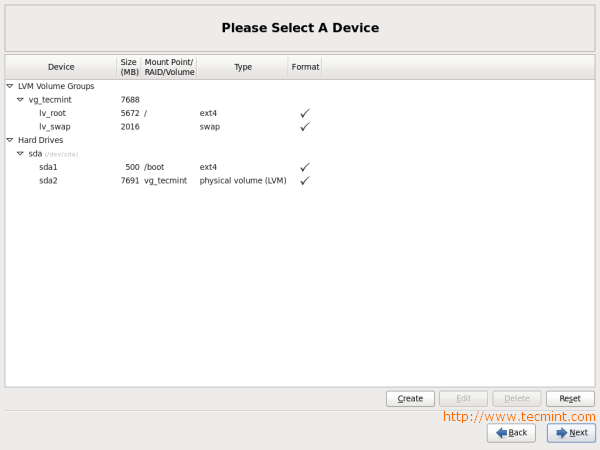
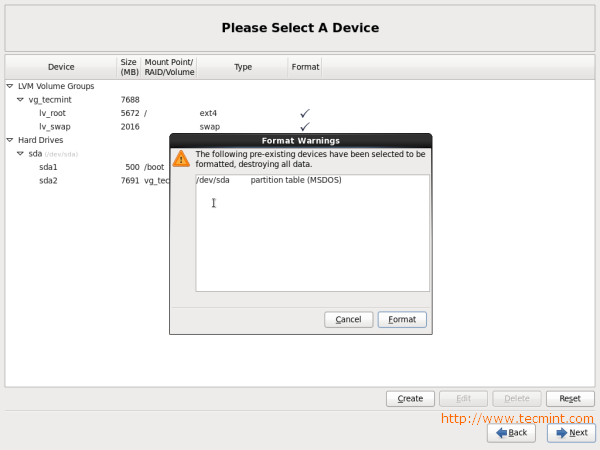
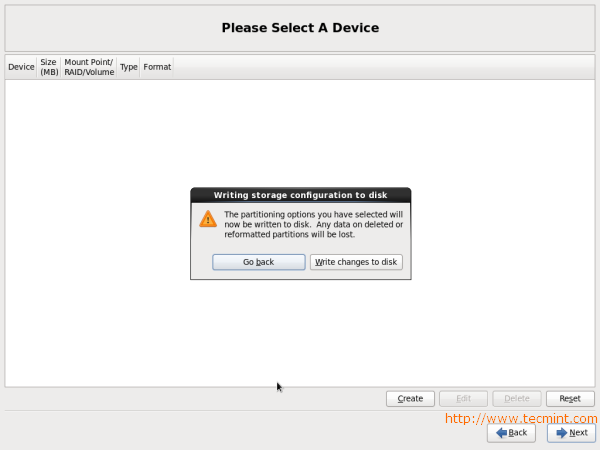
12Choose one which suits you the most and click next. Confirm by clicking on ‘write changes to disk’.
-
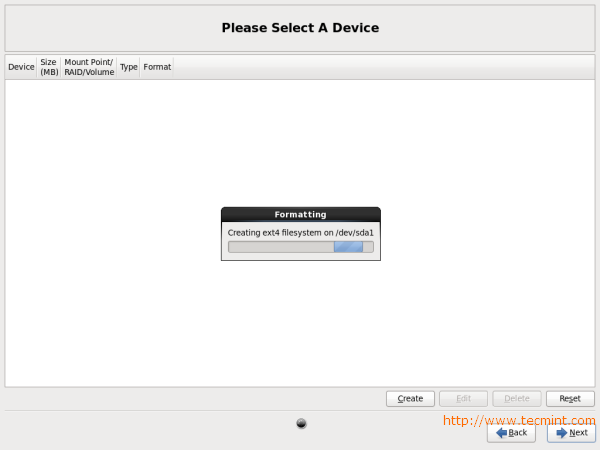
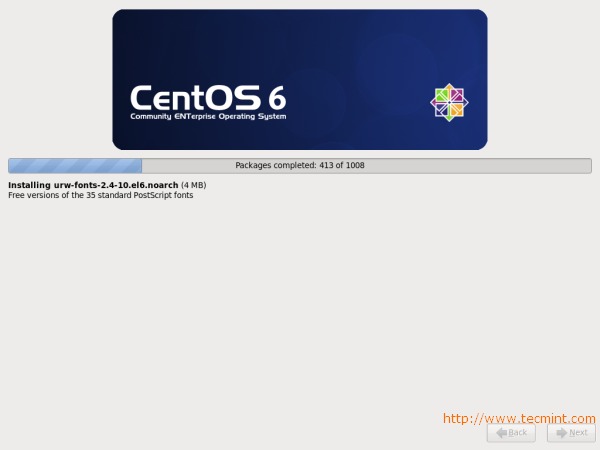
13till the install process finishes]]Wait for it to complete the install . After this installation starts, it will take approximately take 5-10 minutes (depending on your system) for it to be complete .
-
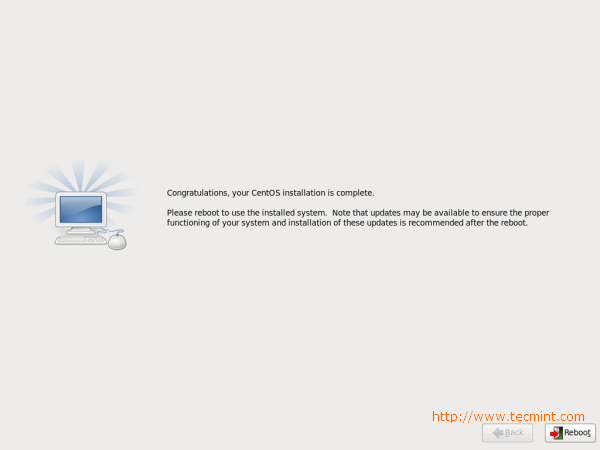
14Re-boot the computer when the installation is done. Go to System > Shut Down and make sure to remove your live CD from the CD drive or your USB drive from the USB port.
-
15Click on ‘forward’ on the first boot wizard and read and accept the license agreement.
-
16Click on forward again. At the Create User prompt, enter the user name you desire, your full name, and your password.
-
17Set your date and time, then click on the ‘Network Time Protocol’ tab. With the network time protocol (NTP), your computer can fetch the current time from a time server over the internet, so you do not have to adjust the time every time DST goes into or out of effect. Select enable network time protocol and click ‘forward’.
-
18Optional: Send details about your hardware to the Fedora Project to further help them develop the software according to hardware specifications.
-
19Log-in and enter your password and you can now call yourself a Fedora user. This is how your Fedora desktop will look.


Installing Apache2 With PHP5 And MySQL Support On Fedora 11 (LAMP)
LAMP is short for Linux, Apache, MySQL, PHP. This tutorial shows how you can install an Apache2 webserver on a Fedora 11 server with PHP5 support (mod_php) and MySQL support.
I do not issue any guarantee that this will work for you!
1 Preliminary Note
In this tutorial I use the hostname server1.example.com with the IP address 192.168.0.100. These settings might differ for you, so you have to replace them where appropriate.
2 Installing MySQL 5
To install MySQL, we do this:
yum install mysql mysql-server
Then we create the system startup links for MySQL (so that MySQL starts automatically whenever the system boots) and start the MySQL server:
chkconfig --levels 235 mysqld on
/etc/init.d/mysqld start
/etc/init.d/mysqld start
Run
mysqladmin -u root password yourrootsqlpassword
mysqladmin -h server1.example.com -u root password yourrootsqlpassword
mysqladmin -h server1.example.com -u root password yourrootsqlpassword
to set a password for the user root (otherwise anybody can access your MySQL database!).
3 Installing Apache2
Apache2 is available as a Fedora package, therefore we can install it like this:
yum install httpd
Now configure your system to start Apache at boot time...
chkconfig --levels 235 httpd on
... and start Apache:
/etc/init.d/httpd start
Now direct your browser to http://192.168.0.100, and you should see the Apache2 placeholder page:

Apache's default document root is /var/www/html on Fedora, and the configuration file is /etc/httpd/conf/httpd.conf. Additional configurations are stored in the/etc/httpd/conf.d/ directory.
4 Installing PHP5
We can install PHP5 and the Apache PHP5 module as follows:
yum install php
We must restart Apache afterwards:
/etc/init.d/httpd restart
5 Testing PHP5 / Getting Details About Your PHP5 Installation
The document root of the default web site is /var/www/html. We will now create a small PHP file (info.php) in that directory and call it in a browser. The file will display lots of useful details about our PHP installation, such as the installed PHP version.
vi /var/www/html/info.php
<?php phpinfo(); ?> |
Now we call that file in a browser (e.g. http://192.168.0.100/info.php):

As you see, PHP5 is working, and it's working through the Apache 2.0 Handler, as shown in the Server API line. If you scroll further down, you will see all modules that are already enabled in PHP5. MySQL is not listed there which means we don't have MySQL support in PHP5 yet.
6 Getting MySQL Support In PHP5
To get MySQL support in PHP, we can install the php-mysql package. It's a good idea to install some other PHP5 modules as well as you might need them for your applications. You can search for available PHP5 modules like this:
yum search php
Pick the ones you need and install them like this:
yum install php-mysql php-gd php-imap php-ldap php-odbc php-pear php-xml php-xmlrpc php-eaccelerator php-magickwand php-magpierss php-mapserver php-mbstring php-mcrypt php-mhash php-mssql php-shout php-snmp php-soap php-tidy
Now restart Apache2:
/etc/init.d/httpd restart
Now reload http://192.168.0.100/info.php in your browser and scroll down to the modules section again. You should now find lots of new modules there, including the MySQL module:

7 phpMyAdmin
phpMyAdmin is a web interface through which you can manage your MySQL databases.
phpMyAdmin can be installed as follows:
yum install phpmyadmin
Now we configure phpMyAdmin. We change the Apache configuration so that phpMyAdmin allows connections not just from localhost (by commenting out the <Directory /usr/share/phpMyAdmin/> stanza):
vi /etc/httpd/conf.d/phpMyAdmin.conf
# phpMyAdmin - Web based MySQL browser written in php
#
# Allows only localhost by default
#
# But allowing phpMyAdmin to anyone other than localhost should be considered
# dangerous unless properly secured by SSL

Alias /phpMyAdmin /usr/share/phpMyAdmin
Alias /phpmyadmin /usr/share/phpMyAdmin
#<Directory /usr/share/phpMyAdmin/>
#   order deny,allow
#   deny from all
#   allow from 127.0.0.1
#   allow from ::1
#</Directory>

# This directory does not require access over HTTP - taken from the original
# phpMyAdmin upstream tarball
#
<Directory /usr/share/phpMyAdmin/libraries>
    Order Deny,Allow
    Deny from All
    Allow from None
</Directory>

# This configuration prevents mod_security at phpMyAdmin directories from
# filtering SQL etc.  This may break your mod_security implementation.
#
#<IfModule mod_security.c>
#    <Directory /usr/share/phpMyAdmin>
#        SecRuleInheritance Off
#    </Directory>
#</IfModule>
|
Restart Apache:
/etc/init.d/httpd restart
Afterwards, you can access phpMyAdmin under http://192.168.0.100/phpmyadmin/: